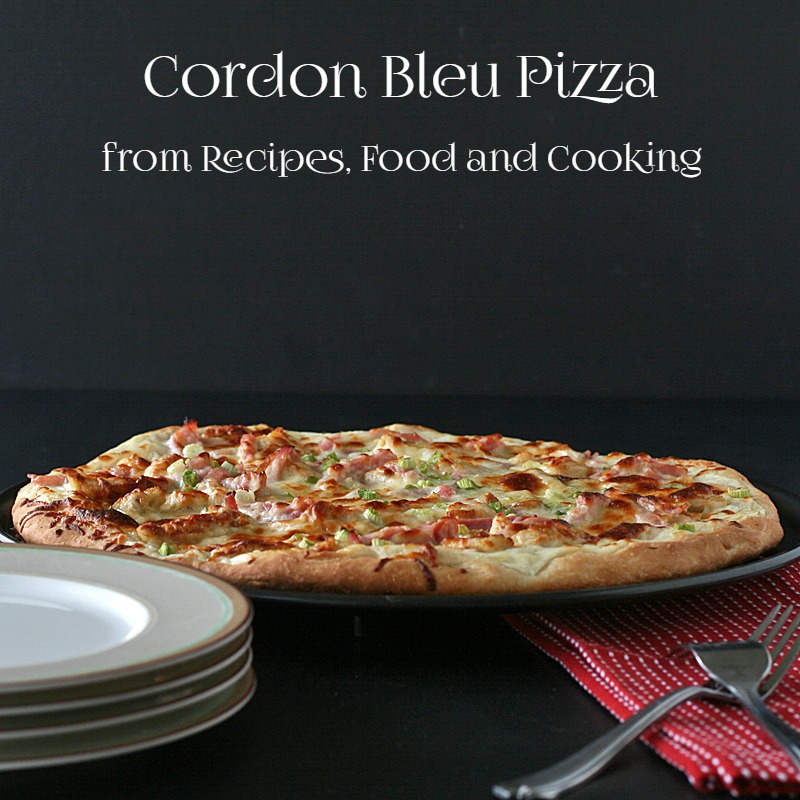
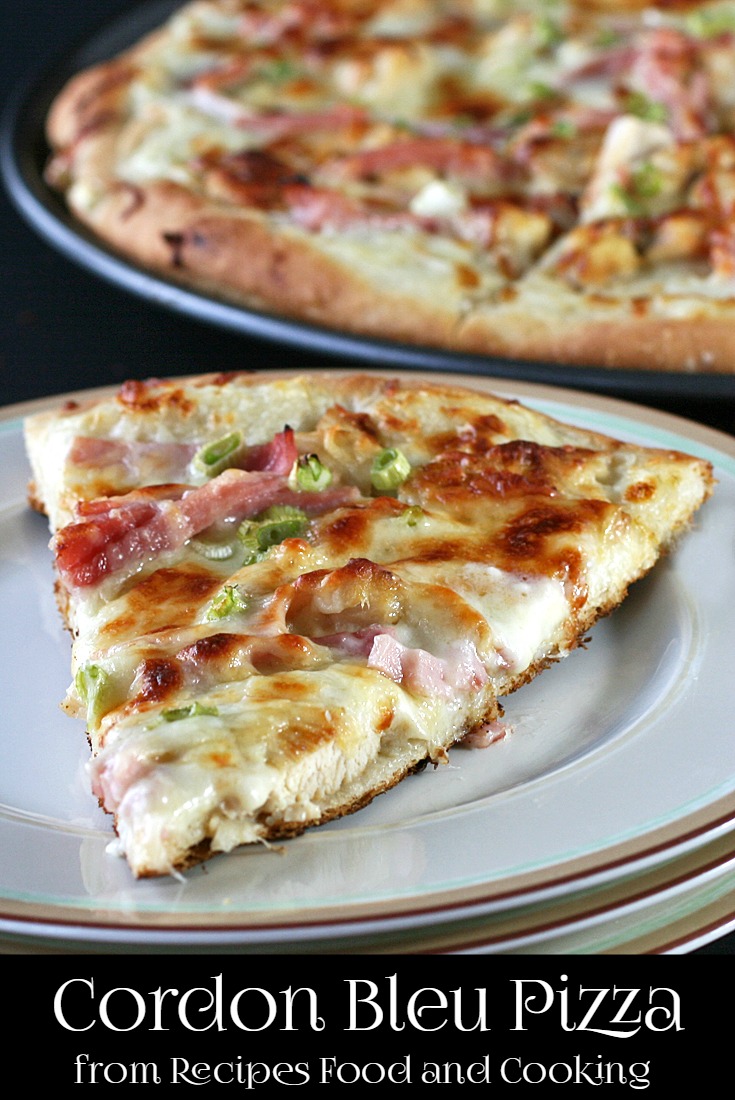
Cordon Bleu Pizza with a garlic cream sauce, chicken breast, ham strips, green onions and Italian cheeses.
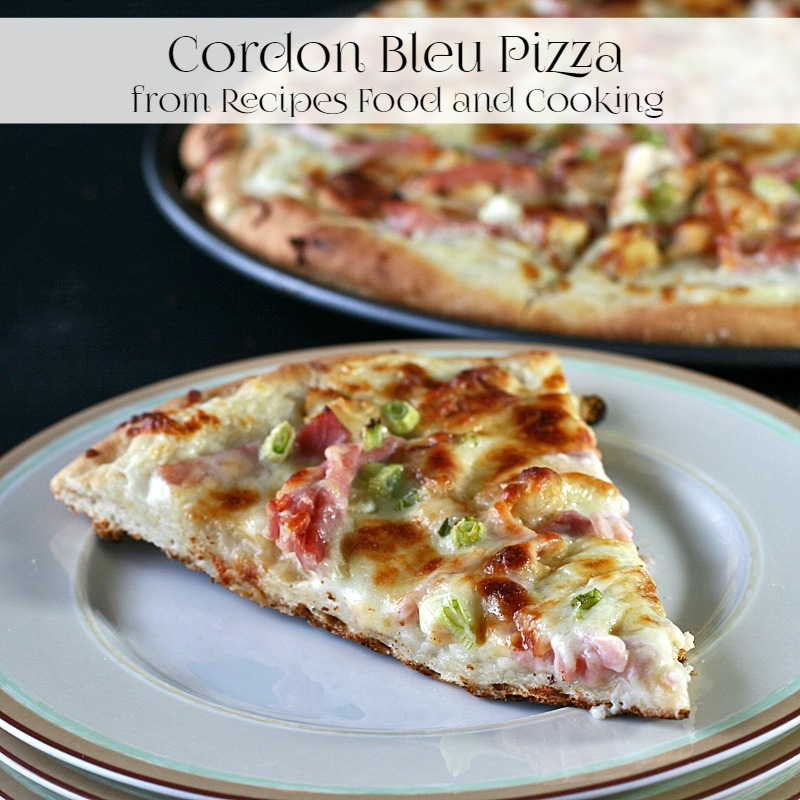
Cordon Bleu Pizza
Love, love this pizza. It is ready pretty quickly too when you use Fleischmann’s Pizza Yeast for the dough. I was sent the yeast by Fleischmann’s for an upcoming post I am doing so tonight was test night so I could see how this yeast worked. This was the crispiest crust on a homemade pizza I have ever made. This yeast is different than regular yeast because you don’t have to wait for it to raise to make the pizza. Just mix it up, knead it for about 4 minutes and roll or pat the dough out on your pizza pan. Because this yeast has dough enhancers in it when you make the crust it won’t bounce back or shrink like a dough using regular yeast will do. I really like the yeast and can’t wait to make some more pizza’s tomorrow.
Only this time I’m going to do as the directions say to do. When I did this dough I just did what I would do for any kind of yeast dough. I made it before I wanted it and covered it to let it raise. After I had the pizza tonight I googled the pizza yeast to see what others were saying about it. I learned then I didn’t need to let it raise. Now what is even worse about this tale is Fleischmann’s even sent me a really nice 8 x 11 laminated card on how to make the dough. I’m reading it now…. LOL and women talk about men who won’t stop to get directions.
- Dough
- 1 package Fleischmann's Pizza Dough Yeast
- 1 3/4 - 2 1/4 cups flour
- 1 1/2 teaspoons sugar
- 3/4 teaspoon salt
- 2/3 cup very warm water
- 3 tablespoons oil
- White Sauce
- 2 tablespoons butter
- 2 tablespoons flour
- 1 1/2 cups milk
- 2 minced garlic cloves
- 1/2 teaspoon salt
- 1/3 cup parmesan cheese (optional)
- Topping
- 3/4 lb. chicken breast
- salt and pepper
- 1/4 lb. sliced ham
- 3 green onions
- 1 1/2 cups Italian cheese
- Make the white sauce, melt the butter in a saucepan. Add the garlic and salt. Stir constantly while adding the milk. When it is thick stir in the parmesan cheese. Sit aside to let cool slightly.
- Dice the chicken into bite size pieces. Spray a frying pan with cooking spray. Add the chicken and brown on both sides. Season with salt and pepper.
- Cut the ham into thin strips. Chop the green onions. Set aside.
- Combine 1 cup of flour, yeast, sugar and salt in a large bowl. Add water and oil. Mix together for about 1 minute. Add another 1/2 cup of flour gradually until it forms a ball. Add additional flour if needed.
- Spoon the dough out onto a floured surface. Knead the dough for about 4 minutes until dough is soft and elastic.
- Roll out the dough into a 12 inch circle.
- Press the dough out onto a pizza pan. Add the toppings.
- First add the white sauce. Then spread the chicken on top. Add the sliced ham, then the cheese. Sprinkle green onions on top.
- Bake at 450 degrees for about 10 minutes.
This pizza uses a white sauce instead of pizza sauce enhanced with a little bit of garlic and parmesan cheese. My toppings on this pizza was chicken breast bites, ham and green onions with an Italian cheese topping.
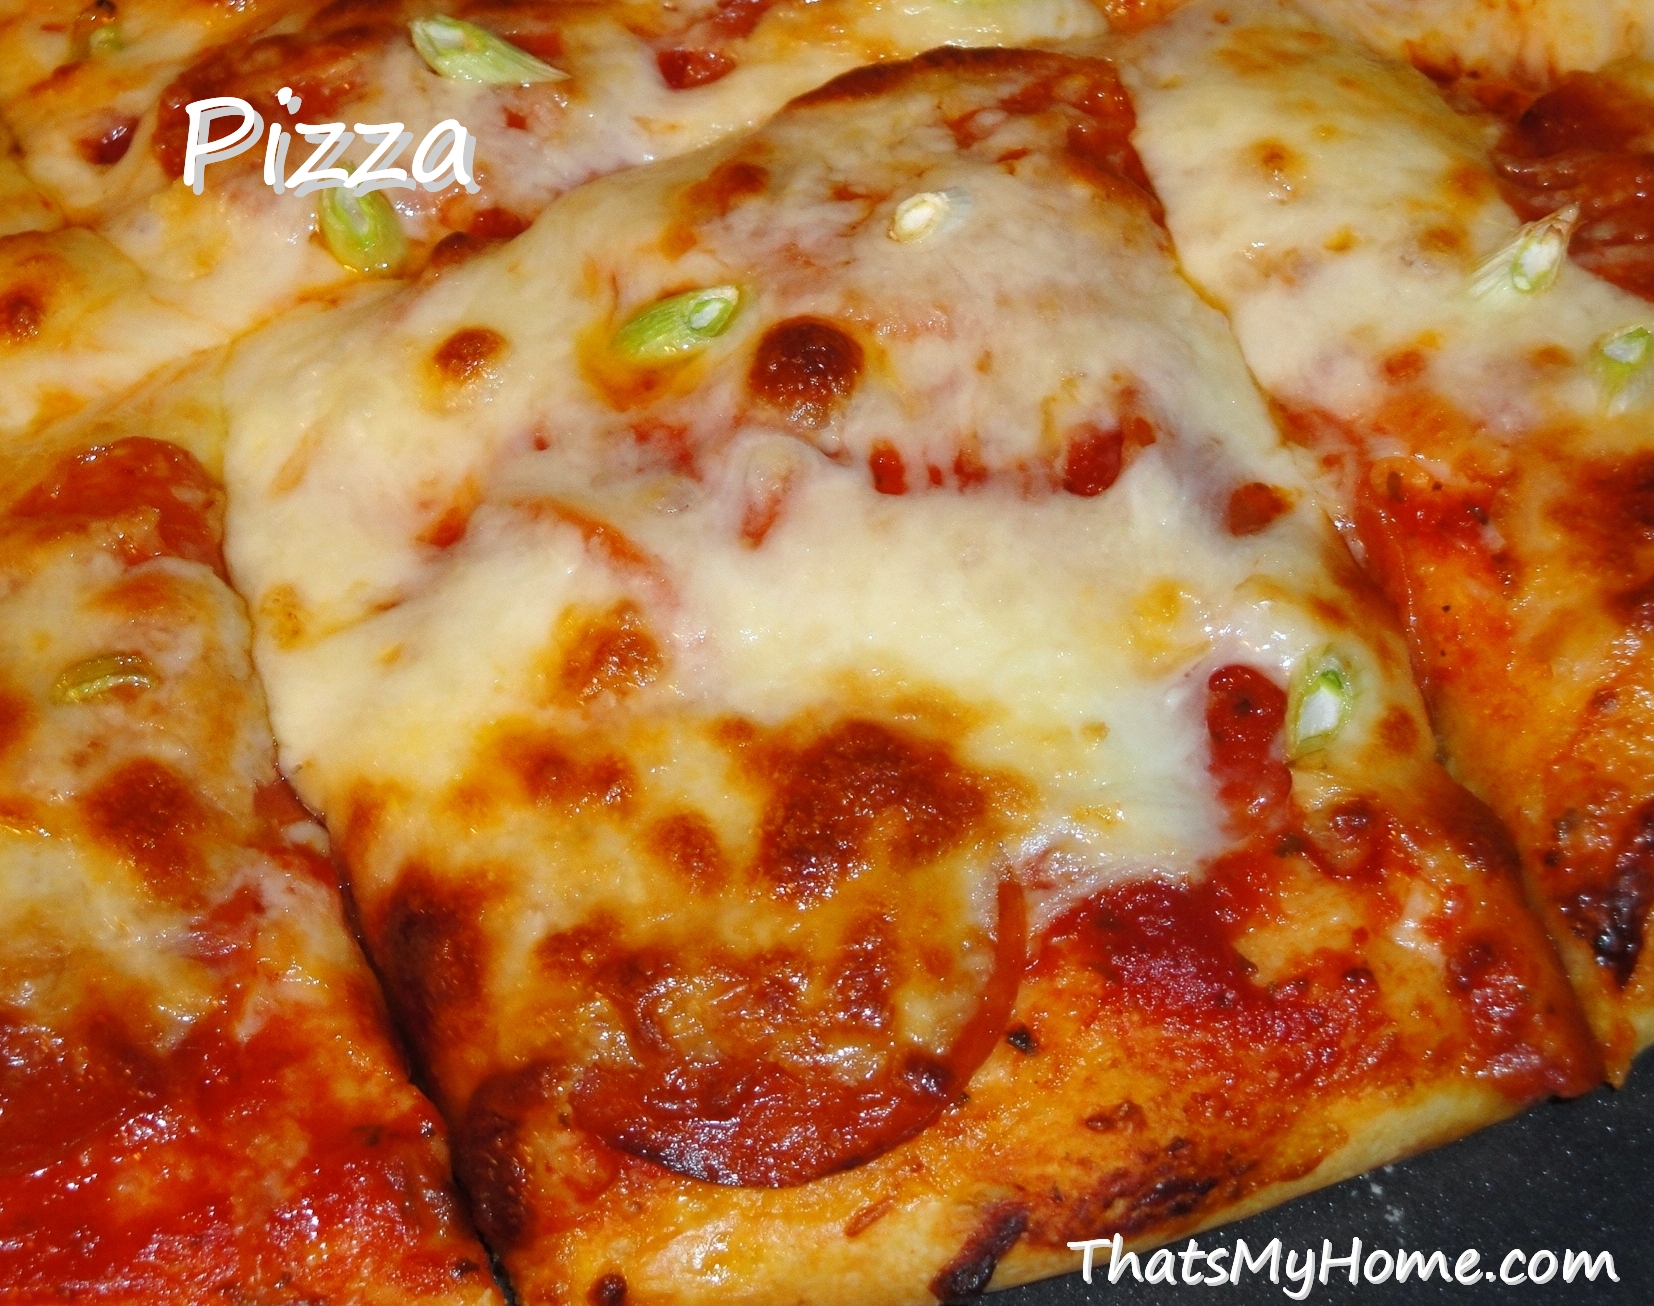
Maybe you’d like to try one of our other Pizzas?
Pizza, Pizza! Make Overnight Pizza Dough
How about our Halloween Personal Pan Pizzas?

Pizza Dip

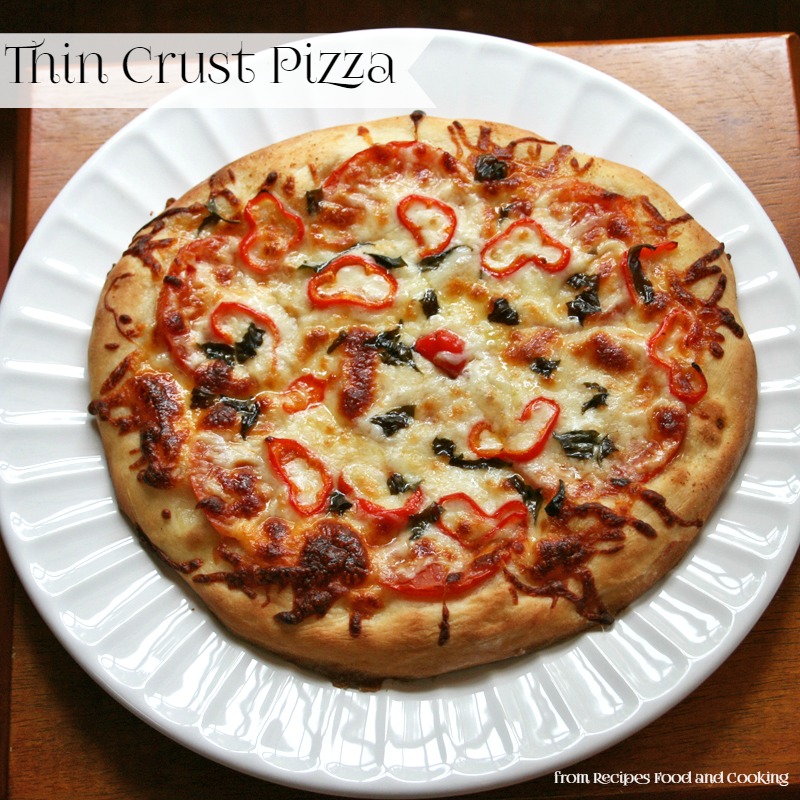
Thin Crust Pizza


This looks delicious Mary Ellen! I keep a large spoon in my flour canister and always stir it up before I take any out and always spoon it into my cup before leveling it off. I have been known to weigh it but have needed batteries for my scales for about the last 6 months (rolling my eyes! I know!). I’m always looking for new ideas for pizza and love this one!
Thanks Shelby, keeping a spoon in there is a really good idea, I think I’ll borrow it! LOL
Amazing! I love that you used homemade sauce and crust! I wish we lived closer :)
That would be wonderful!
I’m going to look for that yeast… If I can get a pizza crust to crisp up at home, my family will think I’m a genius!
It did crisp up really well, when I let the dough rise. It wasn’t as crispy when I didn’t.
Am I safe to assume you mean 2T flour in the white sauce rather than 2 servings of milk?
Yes Marsha you are right. I fixed the recipe. Thanks for letting me know.
Does the chicken need to be pre cooked!?
yes it does, see step 2.