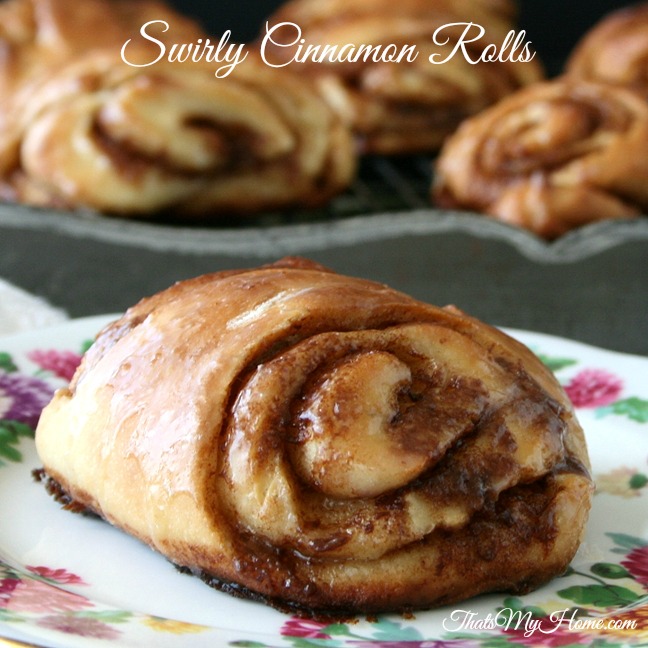
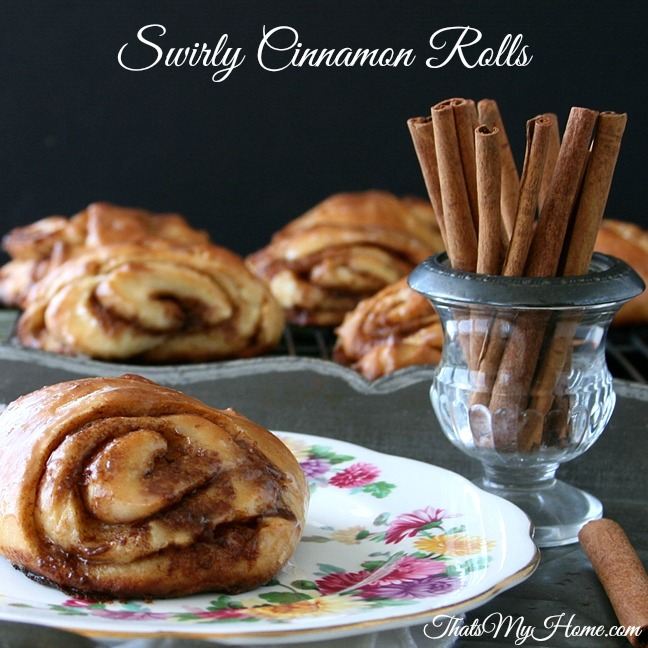
Swirly Cinnamon Rolls where cinnamon is the star of the recipe is showed off in layers of sweet yeast dough baked and glazed.

Swirly Cinnamon Rolls
I had the best time making these this morning. I made the dough last night before I went to bed and refrigerated it overnight. As soon as I got up I put the bag of dough in a sunny spot to get the dough to start warming up. Within 30 minutes I was rolling it out and slathering it with cinnamon butter goodness. Roll the dough really thin so you get lots of layers.
I should of taken a picture of the way to cut these. It is kind of hard to describe how to in words. I will see if I can better up here than in the recipe. My dough cylinder was about 20 inches long and about 1 1/2 inches around. Cut a small piece off on an angle, cutting towards your left, second cut towards the right on an angle. Hope this makes sense. The longest side goes down on the greased cookie sheet and the side with the short piece on top goes up. Both sides of the cinnamon swirl should be facing up. I messed up my first one and then immediately understood the process. You will flip flop the cut ever other time.
- Dough
- 3 cups flour
- 1 1/2 teaspoons yeast
- 1 teaspoon salt
- 1/4 cup sugar
- 1 cup milk
- 1 egg
- 1/4 cup butter, at room temperature
- Cinnamon Filling
- 1 stick butter
- 1/2 cup brown sugar
- 1 teaspoon cinnamon
- Glaze
- 3/4 cup confectioner's sugar
- 3 tablespoons water
- To make the dough, combine the yeast, flour, salt and sugar in your mixer bowl fitted with the dough hook.
- Add the egg to a small bowl and beat it well. Add it with the milk and butter to the bowl with the flour.
- Beat with a dough hook until the dough comes together. Continue to beat for about 5 minutes until the dough is smooth and satiny.
- Cover and let raise until doubled or refrigerate overnight.
- Mix together filling ingredients in your mixer bowl fitted with the paddle attachment until thoroughly combined.
- Roll the dough out to a 15 x 20 rectangle. Spread filling on top of dough evenly. Roll up dough lengthwise into a cylinder.
- Preheat oven to 400 degrees.
- Cut the dough into about 16 pieces. Cut a small piece off on an angle, cutting towards your left, second cut towards the right on an angle. You should be flip flopping the angle cut every time so that the roll has a long and short side. The long side goes down on the pan and the side with the cinnamon layers goes up. Mine were about 1 1/2 inches on the short side. Press down lightly. Cover and let raise until doubled.
- Bake for 15 - 18 minutes.
- Mix up the glaze. When they come out of the oven immediately glaze them.


These look absolutely mouthwatering!
Thanks Becca!
I am always looking for good cinnamon roll recipes and these look super yummy! I can’t wait to try them! Love your photos too.
Thanks Jen! This is a very good dough recipe and so easy to work with.
Oh my goodness! These look like the best cinnamon rolls EVER!! Drooling! :)
Thanks Sheena, they are the prettiest ones I have ever made. I love all of the cinnamon filling exposed from both sides.
These are beautiful. I shared and pinned. XO San
Thanks Sandra, I appreciate it.
These look good. I seriously want one of these right now!
Wish I could of shared Jodie. Thanks for your sweet comment….
Looks delicious and perfect for Easter Sunday morning! Thanks for sharing with Foodie Friends Friday! Hope to see you back again for next week’s party.
Thanks Lois! I enjoyed your party.
Oh my goodness these look fantastic!! I really, really want some right this minute!
These look so amazing! I absolutely love cinnamon rolls. Can’t wait to try this recipe!!
thanks, hope you enjoy them!
these look fantastic but I have no idea how to cut them. im a visual person and the instructions made no sense to me at all…help!
I knew I should of taken pictures. Basically instead of straight cut like you would usually do you cut the dough on an angle. The first cut, cut to the right and the second cut, cut to the left. You will see you have a piece of dough that is narrow on top and longer on the bottom. Once you cut the first one, it will make more sense. Next time I make these I will take photos.